
Chocolate and peanut butter is a classic combo, and this recipe proves it’s a marriage made in heaven. My Molten Chocolate Peanut Butter Cake transforms this power couple into a new form of matter, neither solid nor liquid, just warm, fudgy deliciousness.
When it comes to dessert, let’s face it, I don’t like to share. I love recipes that create individual treats like my Orange Creme Brulee, an Easy Plum Cobbler, or Mini Lemon Meringue Pie, all of which limit the number of spoons and forks reaching for my plate. If you’re selfish with your desserts and a sucker for peanut butter cups, you’ll love these chocolate lava cakes!

What Makes This Recipe Work?
The best way to complement the melty peanut butter in this lava cake recipe is with quality chocolate. There’s no cocoa in the cake, just rich, bittersweet bars. Ghiradelli is my favorite, but I also love Guittard, Valrhona, and Chocolove. Using brown sugar with its molasses-like flavor also accentuates the bitter and subtle smoky qualities of the dark chocolate.
This recipe proves decadent doesn’t mean days in the kitchen. With its complex flavor, magical texture, and epic presentation, no one will believe this gluten-free chocolate peanut butter cake goes from starting to serving in less than 30 minutes. Pop it in the oven when you’re sitting down to dinner, and it’ll be ready to serve before you’re ready to clear the table.
Did your dinner guest list suddenly go from 4 to 12? No problem! This recipe scales very easily. You can share this gooey, chocolate peanut butter brownie-like masterpiece with as many guests as you can fit around your table.
Ingredients
- Chocolate- I prefer bittersweet chocolate or something with more than 70% cocoa. Semisweet or milk chocolate will also work.
- Butter- Use unsalted butter since the peanut butter filling will add some salt.
- Eggs- Egg sizes can vary by almost a whole ounce, so I consistently use large eggs. You’ll need two additional yolks here also, to provide additional richness.
- Brown sugar- The deep flavor and moisture content work better than regular granulated sugar.
- Vanilla- Pure vanilla extract is always best.
- Cocoa powder- You’ll use this to dust your ramekins, so whatever brand you have on hand will work.
- Peanut butter- Choose creamy for a silky peanut butter filling.
- Powdered sugar- This is an optional garnish for the top of the cakes once you’ve inverted them onto serving dishes. The contrasting colors help create a professional-quality presentation.
Ice cream- Ice cream is optional here (if ice cream is ever really optional). Vanilla works great, or you can use chocolate peanut butter ice cream to double the fun.

How to Make


- Prep your ramekins. You can use flour instead of cocoa, but it will leave some white edges around the cakes.
- Melt your chocolate in either the microwave or over a double-boiler. Either way, stir it frequently to avoid scorching.
- Mix your sugar and eggs thoroughly with a hand mixer until it’s nice and fluffy. This helps evenly distribute the fat and produces a consistent rise.
- Combine all the liquid ingredients and pour them into the ramekins. Distribute as evenly as possible for consistent baking times.
- I measure peanut butter with my heart, and you can too. A little or a lot can be added, and using a small or large scoop makes this process less messy. (You can also use this technique to create a peanut butter filling for cupcakes.)
- The cakes will still be a little jiggly when you remove them from the oven and should be served warm. Remember to run a knife around the edge of each ramekin before flipping it onto your serving dish to prevent sticking.

Tips for Making a Molten Chocolate Peanut Butter Cake
- If you want topping options other than ice cream, you can use whipped cream, chocolate ganache, fresh fruit, or something like this Best Thick Rasberry Sauce.
- Looking for other fillings too? You can use almond or cashew butter or even hazelnut spread (I’m looking at you, Nutella).
- These are called molten lava cakes for a reason. You want them slightly underbaked so peanut butter chocolate lava spills onto your plate. Because the peanut butter is heavy, the cakes may deflate a little when you serve them. This obviously doesn’t impact the flavor, but you can use it as an excuse to keep the “ugly” ones as a chef’s treat!
- This recipe does come together quickly, but if you want to prep ahead (especially if you’re doubling or tripling the recipe), you can mix up the chocolate batter and keep it refrigerated for up to two days. Let it sit out at room temperature for 30 minutes before pouring it into ramekins and proceeding with the recipe.

Is molten cake the same as lava cake?
Yes! They are simply two names for the same dessert, characterized by its chocolate molten lava center. The luscious texture is achieved with just the right combination of ingredients and cooking time. Although the recipe origin is disputed, these cakes, called moelleux au chocolat in France, have been gracing the plates at fine-dining restaurants for decades. What I love about this recipe is how easy it is to put a restaurant-quality dish on your home table.
Spectacular and simple is my mantra when it comes to dessert, and these chocolate peanut butter lava cakes fit the bill. You can use this dynamic duo to wow guests or woo a special someone. Whatever occasion you choose, just remember to offer up some gratitude for the genius who decided to dip their chocolate bar into a jar of peanut butter.

Molten Chocolate Peanut Butter Cake
Equipment
- 4 Ramekins
Ingredients
- 6 ounces bittersweet chocolate bar cut in chunks
- 4 ounces butter
- 2 eggs
- 2 egg yolks
- ⅓ cup brown sugar
- 1 teaspoon vanilla
- cocoa powder for dusting
- ice cream or whipped cream optional, but really good
- ¼-1/2 cup peanut butter I used 2 tablespoons per cake, but you may want less. That is where the variation comes from.
Instructions
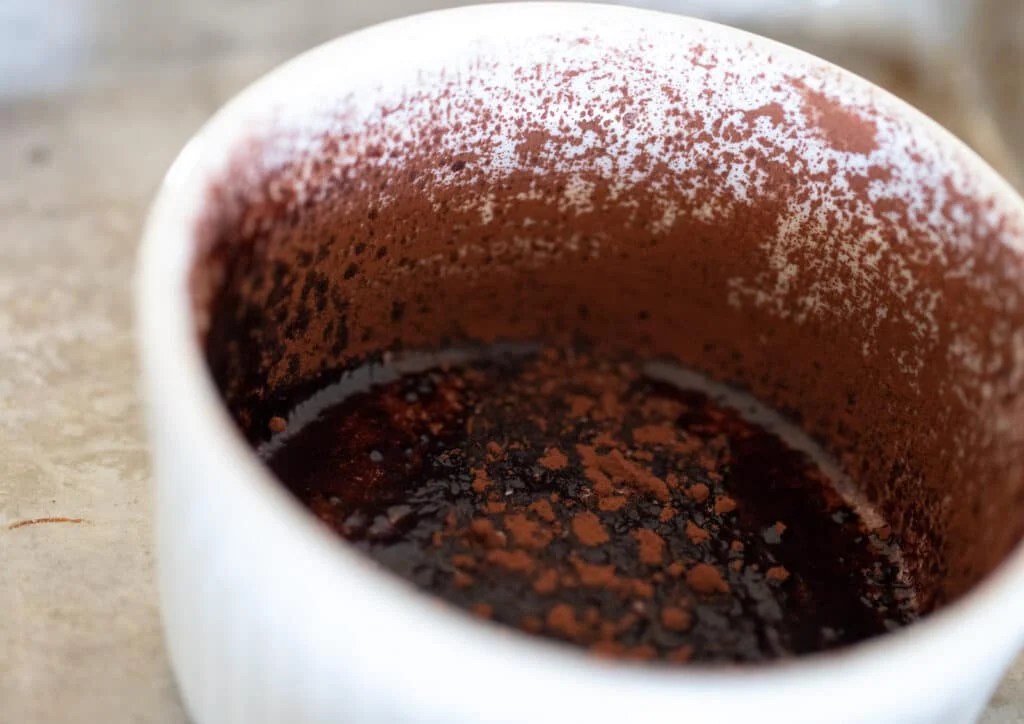
- Brush your ramekins with butter or spray, then dust lightly with the cocoa powder. Place on a baking sheet and set aside. Preheat your oven to 450 degrees.
- Place your butter and chocolate in a microwave-safe bowl. Microwave in 30-second increments. Stirring after each one. Once the chocolate is almost all the way melted, remove and stir until it is all melted. Set aside.
- Add eggs, egg yolk, and brown sugar to a bowl. Mix with a hand mixer until light and fluffy. This can also be done with a whisk if you prefer, it is a great workout. Pour in the chocolate mixture and vanilla, and mix to combine.
- Divide the batter between the 4 ramekins. Drop 1-2 tablespoons of peanut butter into the center of the mixture. I used 2 tablespoons per cake, you may want less. In that case, do 1 tablespoon per cake.
- Move the baking sheet to the oven. Bake for 12 minutes. You want the outside to be slightly set and the center soft.
- Remove from the oven, and allow the cakes to sit for about 1 minute. Slide a knife around the edges to make sure the cakes will slide out easily. Invert carefully onto a plate and slide the ramekin off.
- Dust with powdered sugar, if you choose. Then top with ice cream or whipped cream, again, if you choose.
- Serve immediately, as the molten cake will continue to cook and you won't have the gooey center.
Notes
- If you want topping options other than ice cream, you can use whipped cream, chocolate ganache, fresh fruit, or something like this Best Thick Rasberry Sauce.
- Looking for other fillings too? You can use almond or cashew butter or even hazelnut spread (I’m looking at you, Nutella).
- These are called molten lava cakes for a reason. You want them slightly underbaked so peanut butter chocolate lava spills onto your plate. Because the peanut butter is heavy, the cakes may deflate a little when you serve them. This obviously doesn’t impact the flavor, but you can use it as an excuse to keep the “ugly” ones as a chef’s treat!
- This recipe does come together quickly, but if you want to prep ahead (especially if you’re doubling or tripling the recipe), you can mix up the chocolate batter and keep it refrigerated for up to two days. Let it sit out at room temperature for 30 minutes before pouring it into ramekins and proceeding with the recipe.
Did you make this recipe? Let me know!