
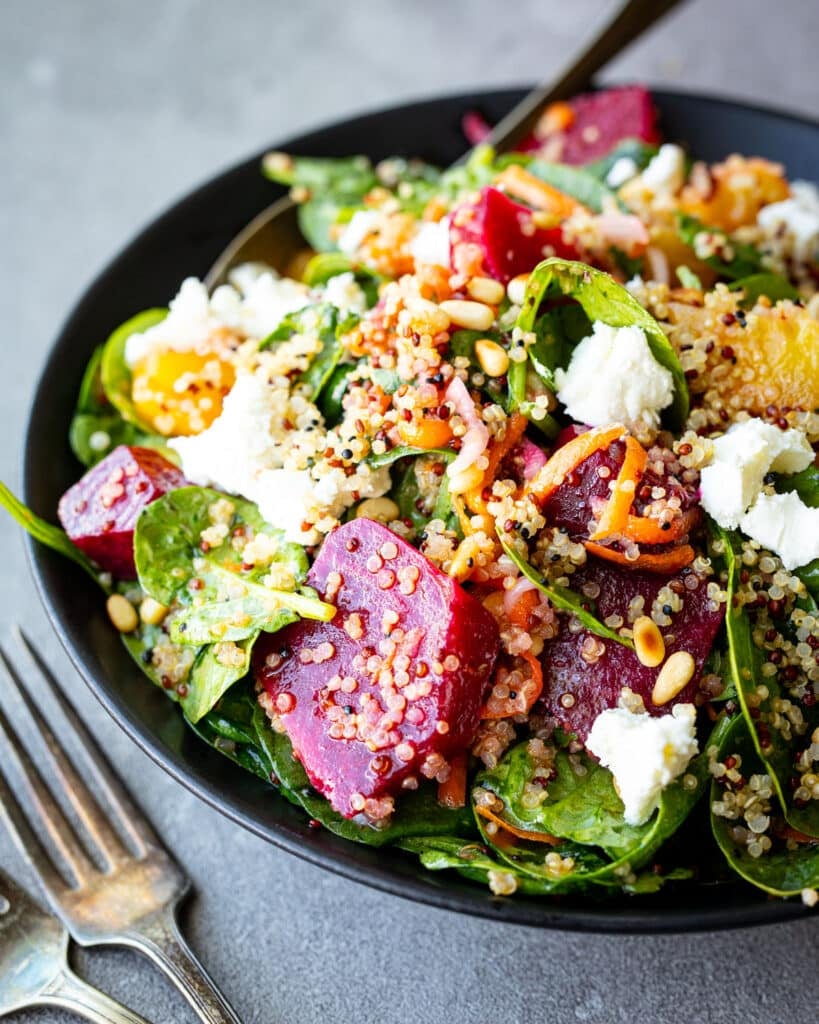
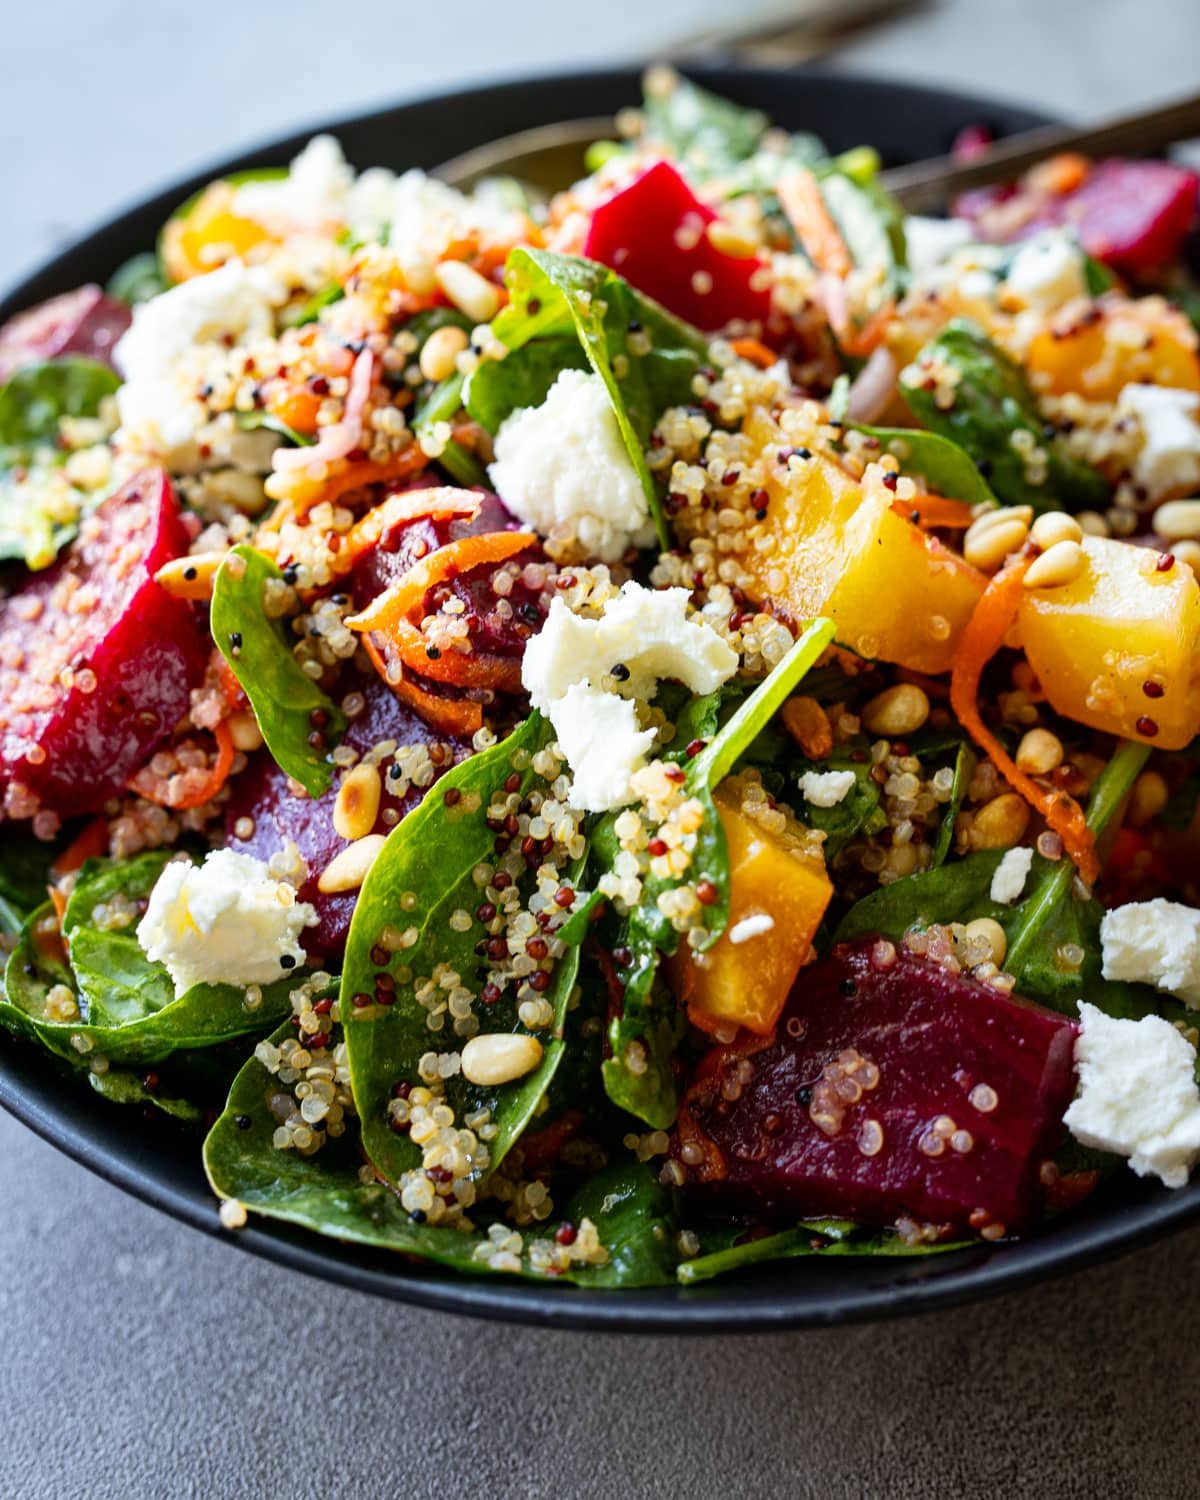
This roasted beet and quinoa salad is as beautiful as it is flavorful. Sweet, earthy beets pair perfectly with nutty quinoa, fresh spinach, and crunchy toasted pine nuts, all brought together with a tangy red wine vinaigrette. Finished with creamy goat cheese and bright, grated carrots, it’s a colorful dish that works as a main course or a vibrant side for any meal.
How about some homemade crackers to go with this tasty salad? Crispy rye crackers are a perfect addition, as are my rustic einkorn crackers. Both are simple to make and so delicious.

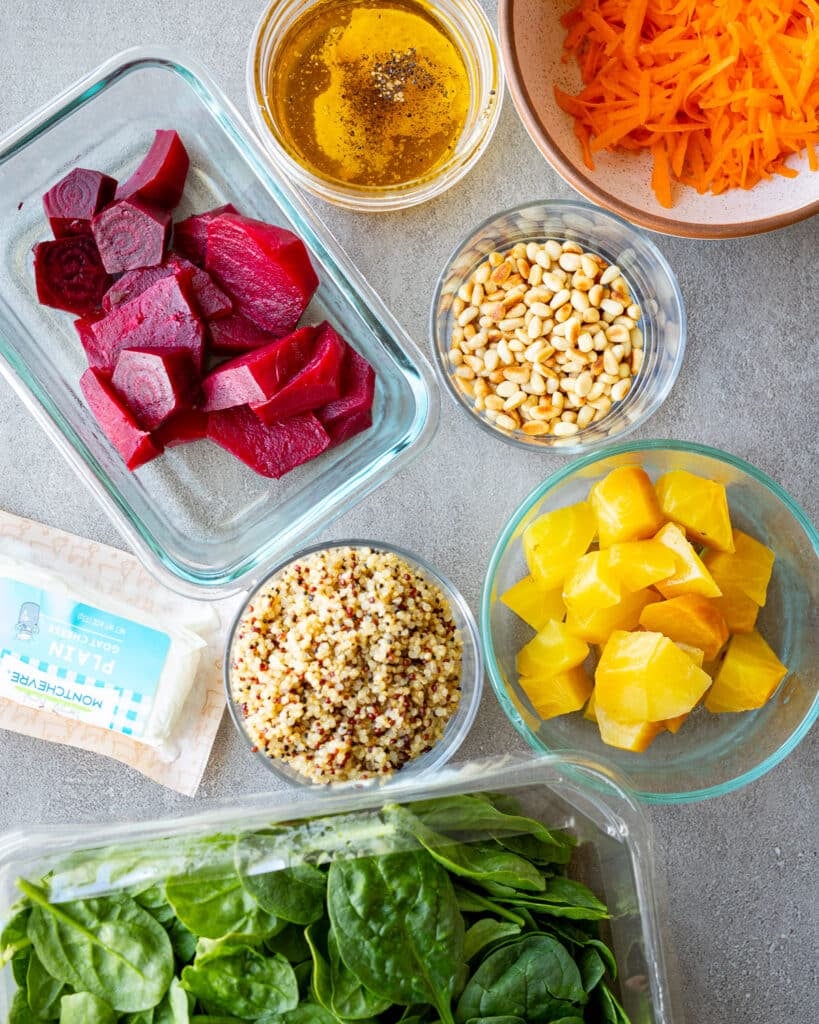
Ingredients
- Beets – Use a mix of golden and red for vibrant color; roasting brings out their natural sweetness.
- Quinoa- I used tricolor quinoa, but you can use any type you like.
- Carrots – They add freshness, crunch, and color.
- Spinach – Tender greens that hold up well under dressing. Any other dark leafy green can be subbed in if you want.
- Pine nuts – I love the buttery flavor, but again, you can sub in others if you want.
- Goat cheese – Creamy and tangy, it ties the flavors together.
- Red wine vinegar – for the vinaigrette.
- Olive oil- Since this will not be cooked, use the best quality you can afford.
- Dijon mustard – Adds sharpness and helps emulsify the dressing.
- Honey – Balances the tanginess with a touch of sweetness.
- Salt and black pepper- to taste
How to Make Roasted Beet and Quinoa Salad
- Roast the beets – Preheat oven to 400°F (200°C). Scrub the beets, wrap individually in foil, and place on a baking sheet. Roast for 45–60 minutes, or until a knife slides in easily. Let cool, then peel and cut into bite-sized cubes.
- Cook the quinoa – Bring the water to a boil, then add the quinoa and salt. Reduce the heat to a simmer, cover, and cook for 15 minutes. Fluff with a fork and let cool slightly.
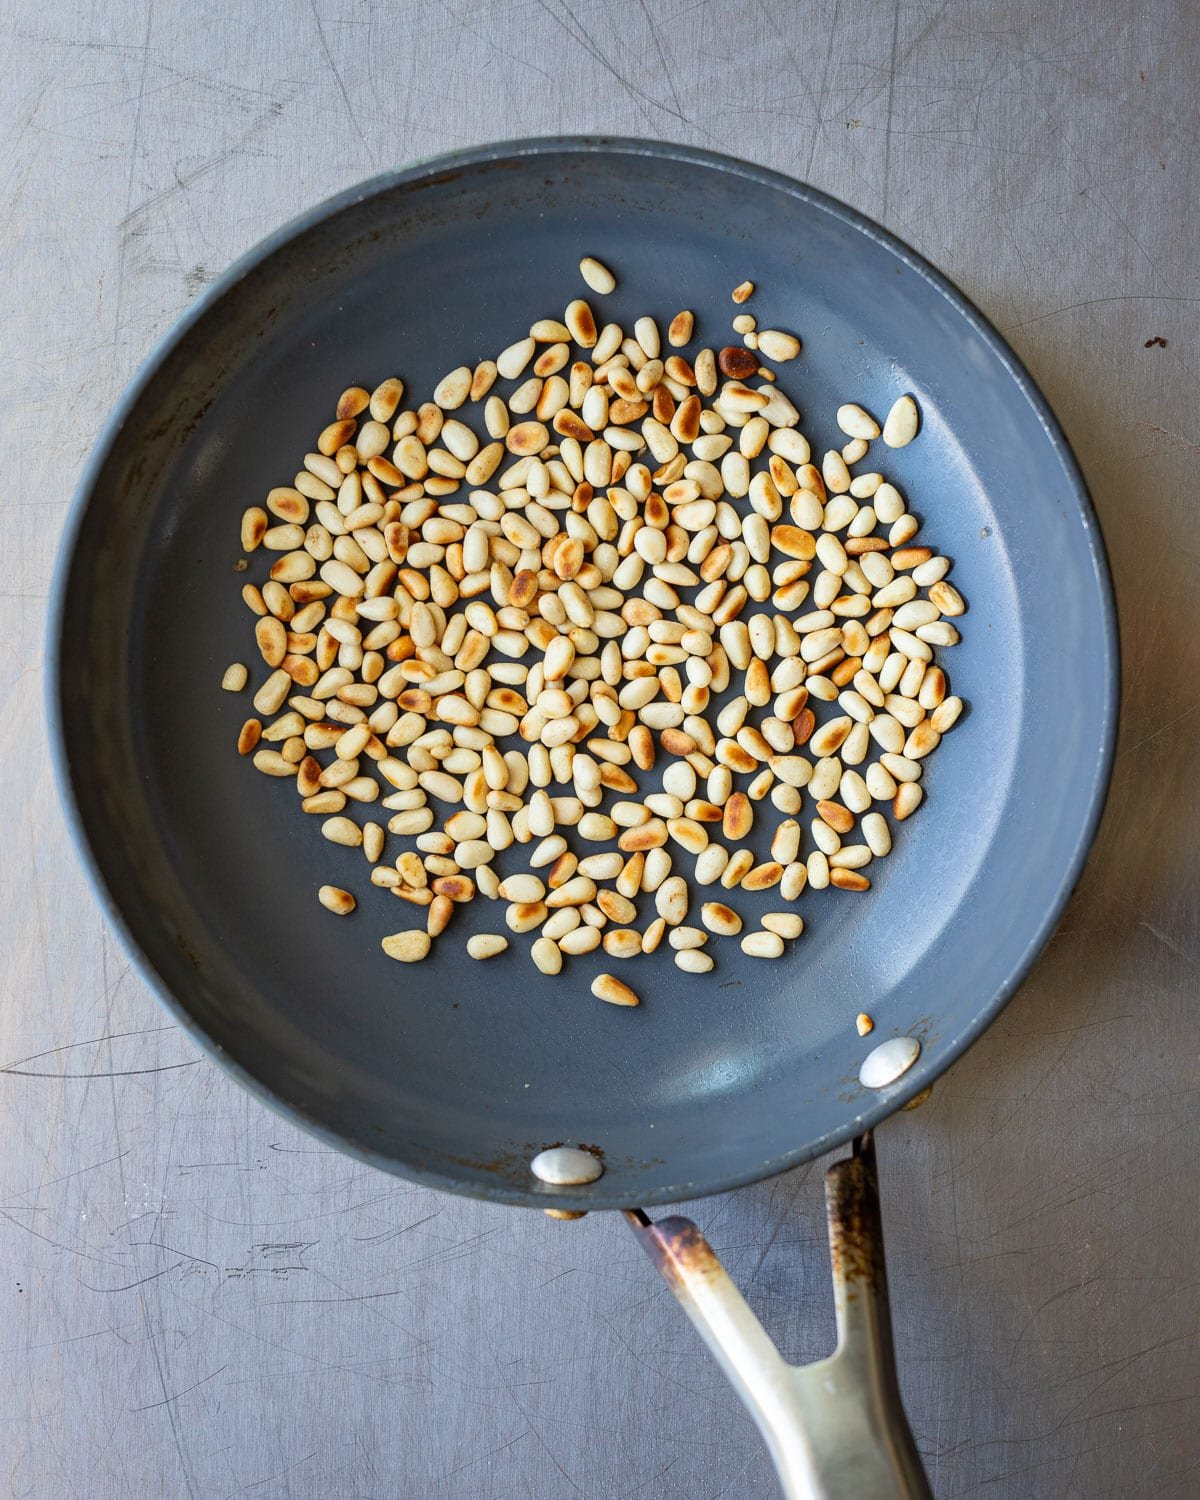
- Toast the pine nuts – In a dry skillet over medium heat, toast pine nuts for 3–4 minutes, shaking the pan often, until golden and fragrant. Set aside to cool.
- Make the dressing – In a small bowl or jar, whisk together red wine vinegar, olive oil, Dijon mustard, honey, salt, and pepper until emulsified.
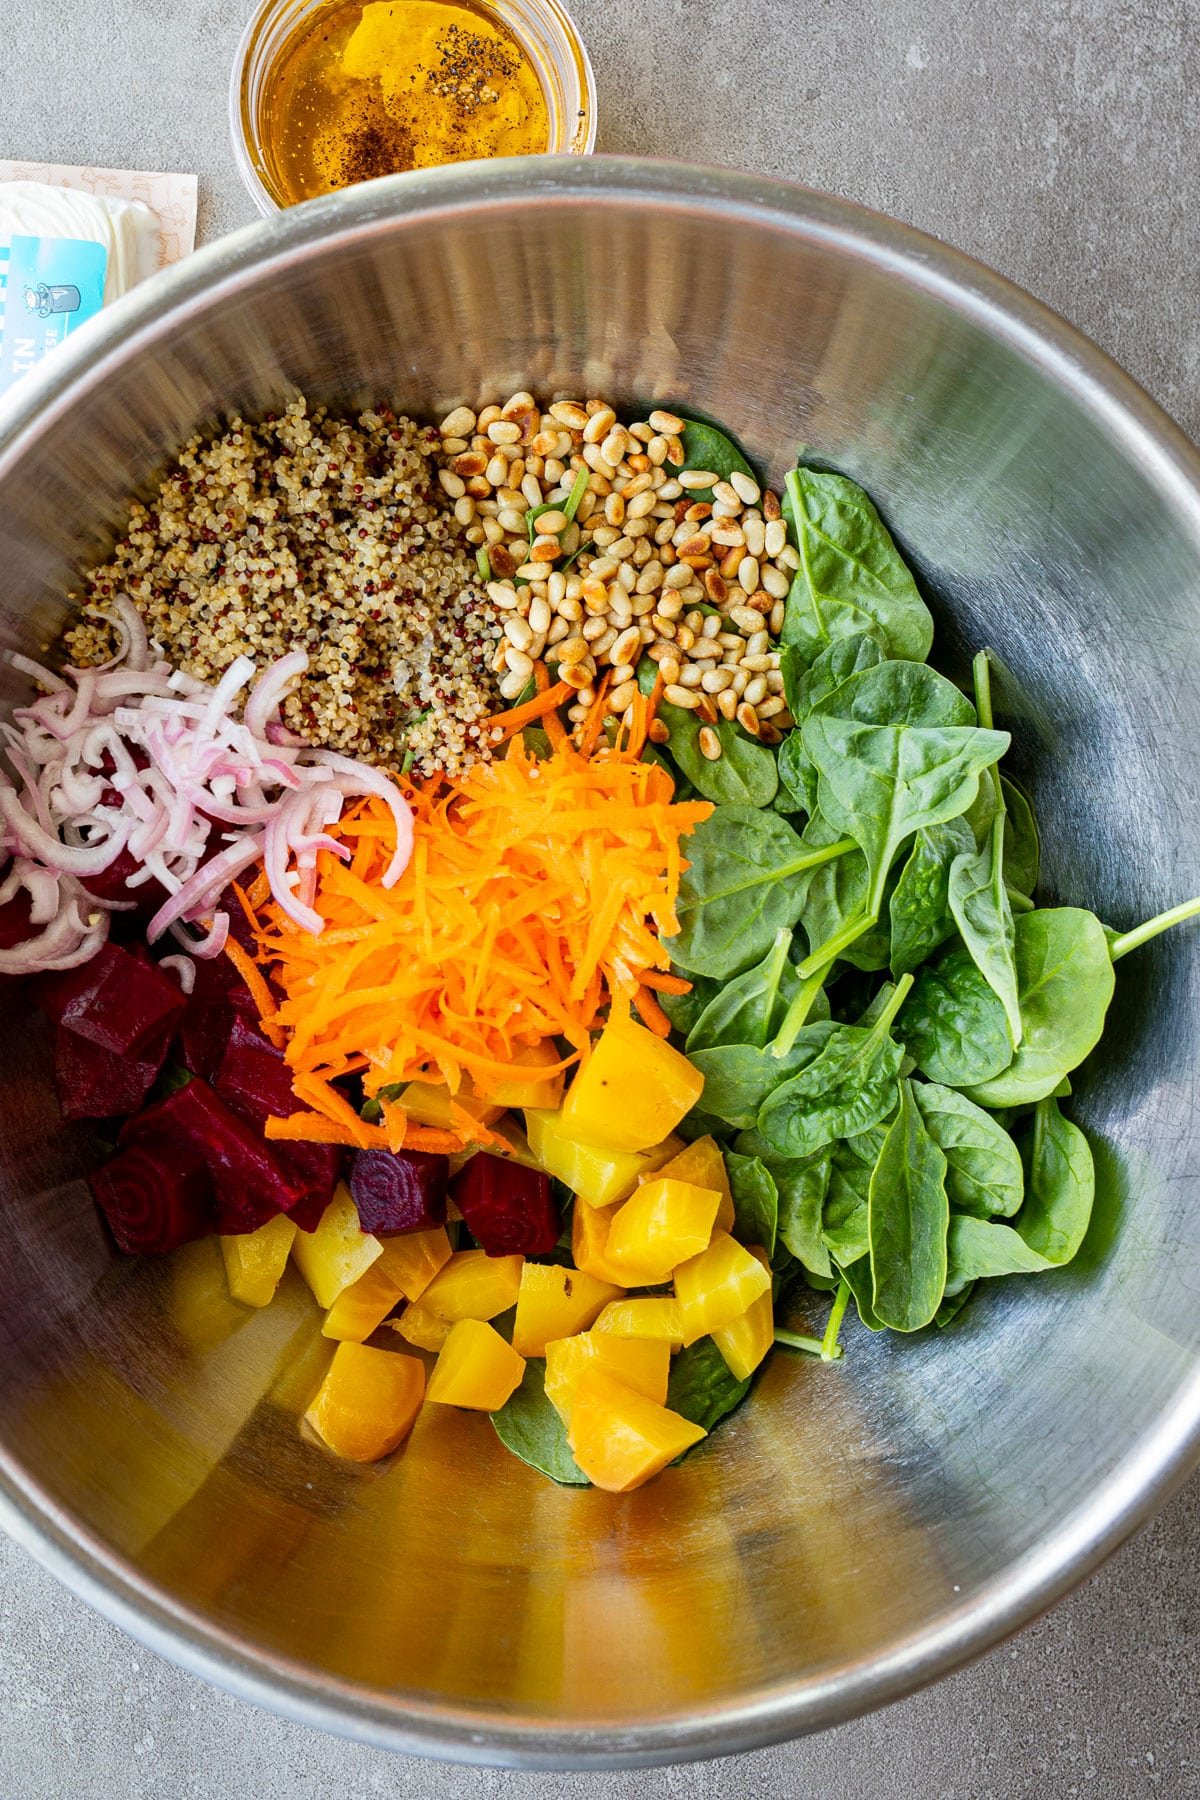
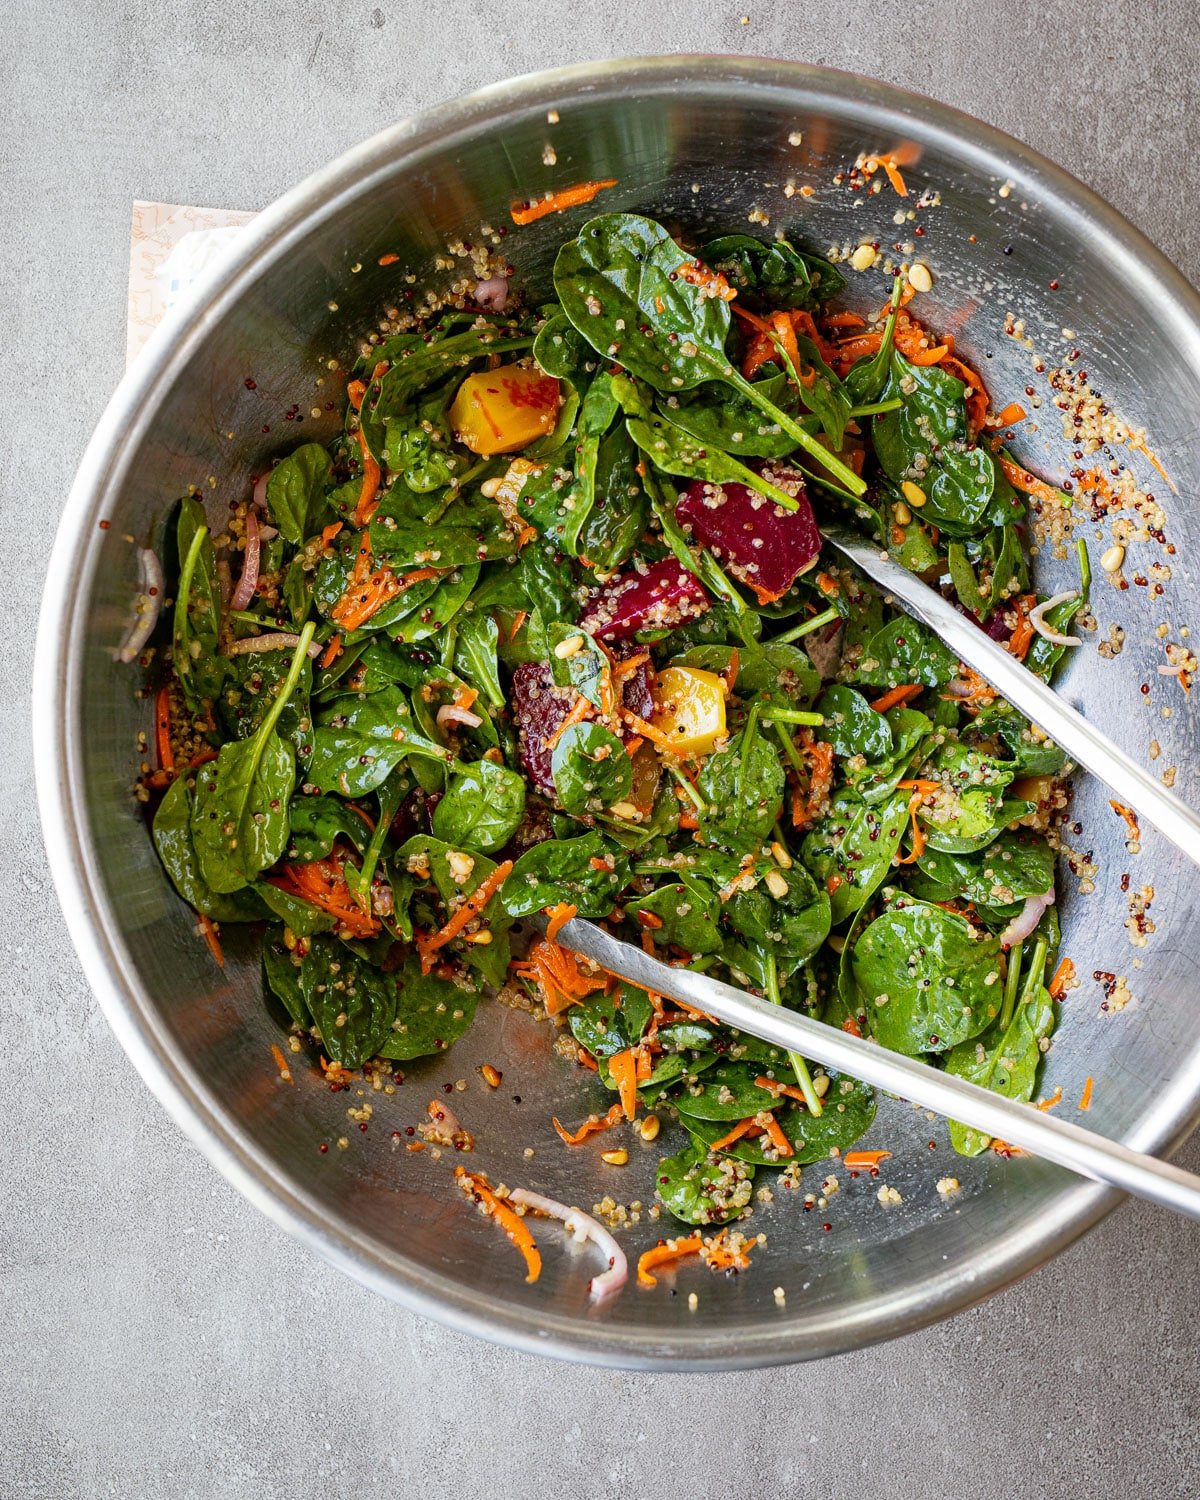
- Assemble the salad – In a large bowl, combine the roasted beets, quinoa, carrots, spinach, and pine nuts. Drizzle with dressing and toss gently.
- Finish with goat cheese – Crumble goat cheese over the top just before serving.
Suggestions & Variations
- Add citrus – Orange or grapefruit segments bring a fresh, bright contrast.
- Swap the greens – Arugula or mixed baby greens work well instead of spinach.
- Make it nut-free – Use pumpkin seeds or sunflower seeds in place of pine nuts.
- Serve warm or cold – This salad is delicious freshly tossed while still slightly warm or chilled for a make-ahead option.

Roasted Beet and Quinoa Salad Recipe
Roasted Beet and Quinoa Salad – roasted beets, quinoa, spinach, carrots, pine nuts, and goat cheese with red wine vinaigrette.
Ingredients
- 3 medium beets
- 1 cup cooked tricolor quinoa
- 1 cup grated carrots
- 4 cups spinach
- ½ cup pine nuts
- 4 ounces goat cheese
Red wine vinaigrette
- 2 tablespoons red wine vinegar
- ⅓ cup olive oil
- 1 tablespoon Dijon mustard
- 2 teaspoons honey
- salt and pepper to taste
Instructions
- Roast the beets – Preheat oven to 400°F (200°C). Scrub the beets, wrap individually in foil, and place on a baking sheet. Roast for 45–60 minutes, or until a knife slides in easily. Let cool, then peel and cut into bite-sized cubes.
- Toast the pine nuts – In a dry skillet over medium heat, toast pine nuts for 3–4 minutes, shaking the pan often, until golden and fragrant. Set aside to cool.
- Make the dressing – In a small bowl or jar, whisk together red wine vinegar, olive oil, Dijon mustard, honey, salt, and pepper until emulsified. Add salt and pepper to taste.
- Assemble the salad – In a large bowl, combine the roasted beets, quinoa, carrots, spinach, and pine nuts. Drizzle with dressing and toss gently.
- Finish with goat cheese – Crumble goat cheese over the top just before serving.
Tried this recipe?Let us know how it was!
Did you make this recipe? Let me know!